

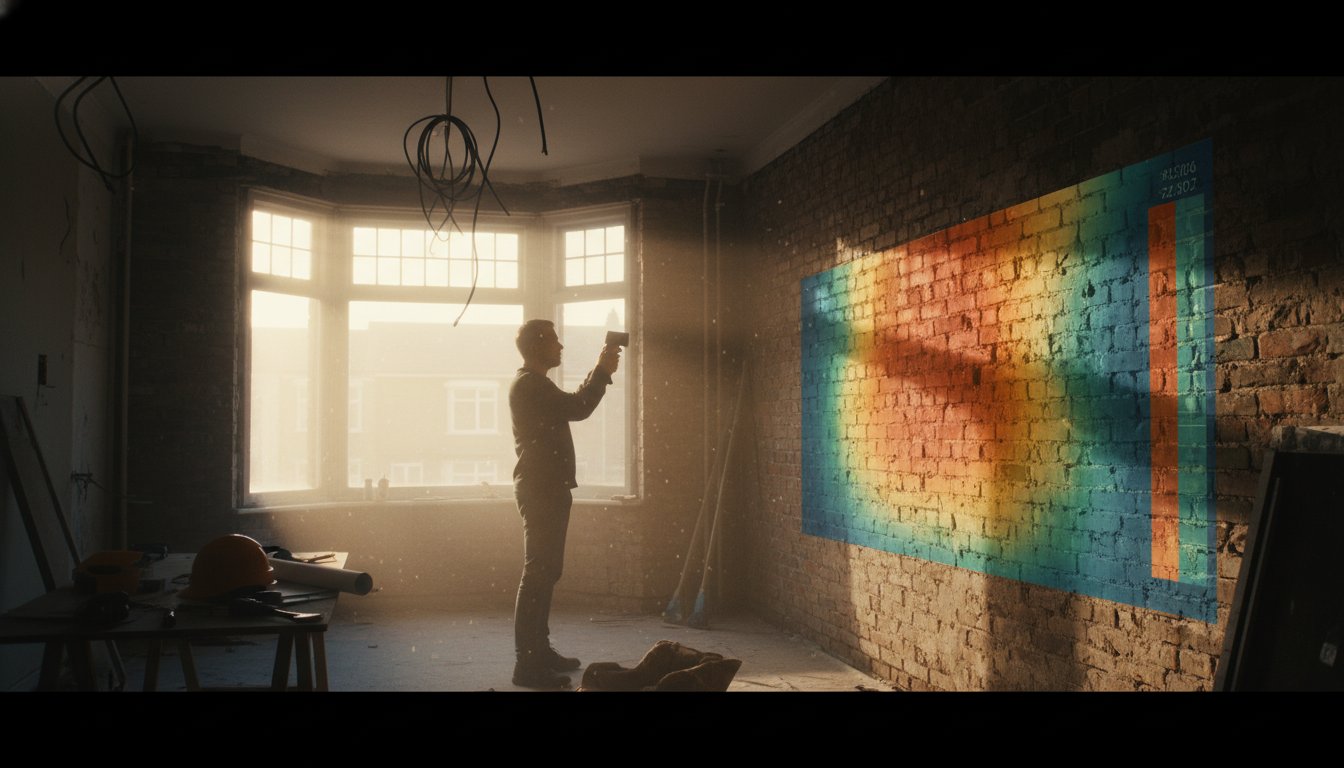
If you could peel back the layers of your home to see through the walls, would you find a seamless blanket of warmth or a fragmented patchwork of missed opportunities? It’s a deeply unsettling experience to invest in your comfort only to find that persistent cold draughts still haunt your rooms or that unexplained damp patches have begun to appear amongst your decor. You likely feel a sense of unease, wondering if the craftsmanship you paid for truly matches the high standards your sanctuary requires. Learning how to check if insulation was installed correctly is the essential first step in transforming that lingering anxiety into the quiet confidence of a home that’s as functional as it is beautiful.
We agree that your home should be a reliable refuge from the elements, not a source of technical worry. This guide provides a meticulous framework to help you identify the subtle signs of faulty work and ensure your property remains a warm, energy-efficient sanctuary. You’ll discover the intricate link between thermal insulation and atmospheric ventilation, whilst gaining the clarity needed to know exactly when it’s time to call in a professional retrofit coordinator to restore the harmony of your living space.
Key Takeaways
- Understand the “Whole House” philosophy, where the harmony between your thermal envelope and ventilation is essential for a healthy, enduring sanctuary.
- Discover how to check if insulation was installed correctly by identifying subtle visual cues, such as dark ghosting patterns or cold spots that disrupt the warmth of your home.
- Learn to conduct a sensory room-by-room audit, paying close attention to loft eaves and airflow inconsistencies that indicate hidden gaps in craftsmanship.
- Explore how professional diagnostic verification, including thermal imaging and air pressure testing, can provide definitive proof of your building’s performance.
- Recognise the pivotal role of a Retrofit Coordinator in overseeing your home’s transformation and ensuring every detail aligns with rigorous technical standards.
The Invisible Standard: What Correct Insulation Should Achieve
When we consider the structural soul of a property, we must look beyond the mere addition of materials to the intricate dialogue between heat retention and air movement. Correct insulation is not simply a matter of filling a void; it’s the creation of a harmonious balance between a robust thermal envelope and intentional ventilation. This “Whole House” philosophy treats your home as a single, interconnected organism where every energy-efficient measure interacts with the existing building fabric. To understand how to check if insulation was installed correctly, one must first appreciate that quality is often found in what you cannot see: the absence of gaps, the preservation of airflow, and the seamless continuity of the thermal barrier.
Adhering to a sophisticated standard like the PAS 2035 framework ensures that these interactions are managed with visionary precision. This regulatory cornerstone moves away from piecemeal upgrades, instead positioning the home as a sanctuary where comfort and structural health are intertwined. A fundamental part of this journey involves choosing the right Building insulation to suit the specific heritage and construction of your space, ensuring that the intervention respects the original character whilst elevating its performance to modern expectations.
The Role of Thermal Continuity
Precision is the hallmark of a master tradesman. In the world of thermal performance, even a gap of a few millimetres can act as a thermal chimney, allowing precious warmth to bypass the barrier entirely. For an installation to be effective, the material should sit snugly against the building structure, following every contour without being compressed or distorted. Compression is particularly damaging, as it collapses the delicate air pockets that provide the resistance to heat flow. Thermal bridging is the unintended path for heat to escape through a material that is more conductive than the surrounding insulation. Identifying these bridges is a vital part of learning how to check if insulation was installed correctly, as they often manifest as the coldest points in an otherwise warm room.
Breathability and the Ventilation Balance
A common oversight in many home improvements is the “Ventilation Gap.” Whilst creating an airtight seal is essential for efficiency, it must be matched with planned, purposeful ventilation to prevent the air from becoming stagnant. Without this balance, moisture from daily life can become trapped, leading to dampness that threatens both your decor and your health. Professional retrofit coordinators often operate under the “insulate-tight, ventilate-right” principle, ensuring that the home remains a breathable environment. This meticulous approach preserves the structural integrity of your property over time, preventing the hidden decay that occurs when breathability is sacrificed for the sake of warmth. It’s this union of functionality and beauty that defines a truly successful installation.
The Telltale Signs of Poor Insulation Craftsmanship
Recognising the subtle language of a home’s structure is a skill every discerning homeowner should possess. When questioning how to check if insulation was installed correctly, one must look beyond the surface and listen to the sensory feedback of each room. A wall that feels significantly colder to the touch than its neighbour, or a floor that retains a stubborn chill despite the heating being active, often indicates a gap in the thermal barrier. These cold spots are more than just a minor inconvenience; they are the silent witnesses to inconsistent material application or unintended compression that robs the material of its efficacy.
One of the most evocative signs of failure is “ghosting.” This phenomenon presents as faint, dark patterns on your walls or ceilings, where dust and particulates settle preferentially on cold spots created by thermal bridging. It is a visual map of where your insulation has failed to provide a continuous shield. Similarly, if you notice new or worsening condensation on your windows shortly after a project is finished, it may signal that the delicate balance between warmth and airflow has been disrupted. If these symptoms persist, seeking a professional ventilation assessment can help identify if the issue lies within the insulation or the home’s ability to breathe.
Visual Indicators of Failure
Poorly executed external wall insulation often betrays itself through the aesthetic of the property. You might spot patchy discolouration or fine cracking in the render, suggesting that the boards beneath were not secured with the meticulous care they require. Internally, mould growth specifically at the junction where walls meet the ceiling is a classic indicator of missing insulation at the eaves. If you have opted for internal wall insulation, a breach in the vapour barrier can lead to dampness trapped behind the fabric, eventually manifesting as a musty, earthy scent that lingers in the air.
Atmospheric and Sensory Clues
The atmosphere of a room provides immediate clues about the quality of the work. You might experience the unsettling sensation of a “moving draught” even when every window and door is firmly closed. This often occurs when air bypasses the insulation, creating currents that disrupt the stillness of your sanctuary. A room that feels unpleasantly stuffy yet remains stubbornly cold suggests a fundamental failure in the ventilation strategy, where the insulation is present but the necessary airflow has been stifled. Listen, too, for the faint whistle of wind through a loft hatch or eaves, a sound that confirms the seal of your home is far from complete. If your energy bills remain high despite these upgrades, it is likely that the material has slumped or been omitted in critical, hard-to-reach areas.
A Room-by-Room Inspection Checklist for Homeowners
Embarking on a sensory tour of your home is perhaps the most intimate way to understand its structural performance. This journey is not merely about finding faults; it is an act of stewardship for your sanctuary, ensuring that every corner aligns with the vision of comfort you have cultivated. When considering how to check if insulation was installed correctly, your own intuition is often your most reliable tool. Move through each room with quiet deliberation, noting where the air feels still and where a subtle, uninvited movement suggests a breach in the home’s thermal guard. Pay close attention to the transitions between materials, as these junctions are where the harmony of a project is often won or lost.
Begin your inspection at the perimeter of the ground floor. Run your hand along the line where the floor meets the wall; a sudden drop in temperature or a discernible draught indicates that the insulation does not meet the building fabric with the necessary precision. Similarly, if you have recently undergone internal wall insulation, examine the finish around sockets, light switches, and window reveals. These are complex areas that require a master’s touch. Any visible gaps or a feeling of cold air emanating from behind a socket plate suggests that the thermal layer is fragmented rather than continuous.
The Loft and Roof Space
The loft serves as the crown of your home’s thermal envelope. When inspecting this space, your first priority is to ensure that the material has not been laid with a heavy hand. Verify that the insulation is not covering the soffit vents at the eaves. These vents are vital for roof health, allowing the structure to breathe and preventing the build-up of moisture that leads to decay. Ensure the loft hatch itself is insulated and fitted with a robust draught-strip. Without this, your loft becomes a chimney, drawing warm air out of your living spaces. Look for “valleys” or uneven depths in mineral wool; a professional installation should appear as a level, consistent blanket, not a rushed landscape of peaks and troughs.
Cavity and Solid Walls
Walls require a different kind of scrutiny. For cavity installations, a tactile check can be revealing; tapping on the internal surface and listening for hollow echoes may suggest voids where the material has failed to flow. In such instances, consulting a specialist like CavClear for cavity wall maintenance can help identify and rectify these gaps. If you have opted for external wall insulation, examine the beading around the base and roofline. It should be perfectly flush and sealed. If the beading appears skewed or the render shows signs of pulling away, the boards beneath may not be properly secured. In cases of internal insulation, check that radiators have been properly relocated rather than simply left in place, which often creates a significant thermal bridge that undermines the entire project.
Ventilation and Airflow Points
A truly energy-efficient home must never feel stagnant. Test the trickle vents in your windows to ensure they are functional and free from debris; they are the lungs of your rooms. In wet rooms, such as bathrooms and kitchens, check the extractor fans. A simple yet effective test is to see if the fan can hold a single piece of tissue against its grille whilst running. If the tissue falls, the airflow is insufficient, which can lead to the issues detailed in our damp remediation guide. Balancing these airflow points is the final, essential step in verifying how to check if insulation was installed correctly.

Beyond the Surface: Professional Diagnostic Verification
Whilst a sensory tour provides a wonderful foundation for understanding your home, certain nuances of building performance remain hidden from the human eye. Those seeking to understand how to check if insulation was installed correctly often reach a point where intuitive observation must be replaced by scientific certainty. Professional diagnostic verification offers this clarity, utilising advanced technology to unveil the invisible currents and thermal leaks that define your property’s efficiency. Far from being a mere technical exercise, these tests are an investment in the enduring health of your sanctuary, ensuring that the craftsmanship you have commissioned meets the highest possible standards.
Some homeowners may hesitate, viewing professional testing as an unnecessary expense for a private residence. However, the cost of undetected faulty insulation often manifests in structural decay or inflated energy bills that far exceed the price of a survey. Engaging a specialist provides a definitive answer to the question of quality, transforming anxiety into the peace of mind that only data-driven evidence can provide. It is the final layer of due diligence in your meticulous journey toward a truly energy-efficient home.
The Power of Thermal Imaging Surveys
A professional thermal imaging survey allows us to “see” through the fabric of your home, identifying the subtle thermal bridges where heat escapes with quiet persistence. Unlike DIY cameras, which often lack the necessary calibration to provide accurate data, a professional survey provides a high-resolution map of temperature variations across your walls and ceilings. The best conditions for this occur on a cold day when your heating is active, creating a sharp contrast that highlights even the smallest gaps in your insulation. This data is invaluable when refining a bespoke EPC improvement plan, as it allows for targeted interventions rather than guesswork.
Air Pressure and Smoke Testing
To quantify the airtightness of your building, an air pressure test, or “blower door test,” is the definitive choice. By temporarily sealing your home and using a calibrated fan to depressurise the interior, professionals can simulate the effects of a windy day. This process reveals every hidden draught, from the smallest crack in a floorboard to significant breaches in a loft conversion. Smoke pens are often used in conjunction with this test, visually tracing the path of escaping heat around window frames and doors with hypnotic clarity. These rigorous evaluations are standard requirements for PAS 2035 compliant projects, ensuring that every energy-efficient measure works in perfect harmony with the building’s ventilation strategy. To secure this level of detail for your own property, commissioning a professional building survey is a vital step in your home’s transformation.
Securing Your Sanctuary: The Role of Retrofit Coordination
The journey toward a truly energy-efficient home is a complex narrative that requires a steady, expert hand to guide it to a successful conclusion. A Retrofit Coordinator acts as the guardian of this transformation, ensuring that the initial vision for your sanctuary is never compromised by technical oversights. Whilst learning how to check if insulation was installed correctly empowers you as a homeowner, having a professional to oversee the end-to-end process provides a layer of security that sensory checks alone cannot match. This role is defined by a commitment to the “Whole House” philosophy, where every individual improvement is designed to function in perfect equilibrium with the building’s existing character.
One of the most significant risks in home improvement is the reliance on an installer’s “self-certification.” When the individual responsible for the work is also the one verifying its quality, the potential for overlooked flaws increases. An independent assessment breaks this cycle, offering an impartial critique of the craftsmanship. This is particularly vital when addressing the “Ventilation Gap,” a common failure where new insulation stifles the home’s breathability. A coordinator ensures that your insulation upgrades don’t inadvertently lead to damp, instead creating a refined environment where warmth and fresh air coexist beautifully. Viewing retrofit as a journey rather than a single event allows you to curate a lifestyle that is as comfortable as it is sustainable.
Why Independent Oversight Matters
Professional coordination prevents the “silo” effect, a situation where one energy-saving measure negatively impacts another. For instance, installing high-performance windows without considering the existing wall insulation can shift the dew point, leading to hidden moisture issues. A PAS 2035 aligned project management service ensures that every technical standard is met with meticulous precision. This oversight provides deep peace of mind, as you receive a documented, professional audit of all improvements. This archive becomes a testament to the quality of your home, preserving its heritage whilst proving its modern efficiency.
Taking the Next Meticulous Step
The process begins with a comprehensive retrofit assessment, a fixed-fee evaluation that establishes a clear baseline for your property’s current condition. From this data, a bespoke roadmap is crafted, outlining a logical sequence of improvements that increase your property’s value and comfort simultaneously. This structured approach removes the guesswork from home renovation, replacing it with a steady, graceful progression toward a more efficient future. If you are ready to ensure your home’s evolution is handled with the care it deserves, we invite you to consult with Madison May Consulting Ltd for a professional evaluation that respects both your story and your sanctuary’s structural integrity.
Refining Your Home’s Thermal Legacy
The journey from initial suspicion to technical certainty is a vital act of home stewardship. By mastering the art of sensory inspection and understanding the delicate balance between heat retention and airflow, you ensure your property remains a healthy, resilient refuge. True comfort is never accidental; it’s the result of meticulous attention to the invisible details that define a building’s performance. Understanding how to check if insulation was installed correctly is the essential first step in ensuring your investment delivers the refined, energy-efficient lifestyle you deserve.
We invite you to Book a Professional Retrofit Assessment with Madison May Consulting Ltd to gain absolute clarity through our PAS 2035 aligned retrofit assessments and fixed-fee consultancy services. Our expert guidance on whole-house retrofit provides the visionary oversight needed to transform your living space into a high-performance masterpiece. With the right knowledge and a trusted professional partnership, you can move forward with the quiet confidence that your home is as efficient, warm, and beautiful as you intended it to be.
Frequently Asked Questions
How can I tell if my cavity wall insulation has slumped?
You can identify slumped cavity wall insulation by feeling for cold spots near the ceiling or tapping the wall to listen for hollow echoes. Over time, certain materials may settle, leaving the upper portion of the wall unshielded. This often results in a noticeable temperature drop in the top third of the room. A professional building survey using a borescope can provide visual confirmation without the need for significant disruption.
Is it normal to have more condensation after getting new insulation?
It is common to experience increased condensation if your new insulation has significantly improved airtightness without a corresponding upgrade to your ventilation strategy. When a home becomes more sealed, moisture from cooking and bathing can no longer escape through old draughts. This moisture then settles on cold surfaces, such as window panes, indicating that the atmospheric balance of your sanctuary requires professional adjustment to prevent damp.
What should I do if I suspect my insulation was installed poorly?
If you suspect your energy-efficient measures were poorly executed, your first step should be to request a formal inspection from an independent retrofit coordinator. They can provide a meticulous evaluation that goes beyond the installer’s own certification. Learning how to check if insulation was installed correctly through sensory audits is helpful, but a professional audit provides the technical evidence needed to request remediation under your warranty.
Can I use a DIY thermal camera to check my home’s insulation?
You can use a DIY thermal camera to identify broad areas of heat loss, but these devices often lack the calibration required for a definitive diagnostic. Professional-grade cameras offer higher resolution and are operated by experts who understand how to interpret complex thermal signatures. Whilst a consumer device might show a cold patch, it will not necessarily explain the underlying cause, such as a structural thermal bridge or specific material compression.
Why is ventilation so important when adding new loft insulation?
Ventilation is vital when adding loft insulation because it prevents moisture from becoming trapped within the roof timber, which can lead to structural decay. As you increase the thermal resistance of your ceiling, the loft space becomes colder. Without adequate airflow through soffit vents, warm, moist air from the living spaces below will condense on the cold roof felt, creating a breeding ground for mould and rot.
What are the most common signs of a thermal bridge in a house?
The most common signs of a thermal bridge include dark, shadowy patterns on walls known as “ghosting” and localised mould growth in specific corners or junctions. These bridges occur where a structural element, such as a steel beam or a timber stud, bypasses the insulation layer. Because these spots are colder than the surrounding surface, dust and moisture naturally gravitate toward them, leaving a visible map of the building’s thermal weaknesses.
How long does a professional retrofit assessment take to complete?
A professional retrofit assessment typically takes between two and four hours to complete, depending on the size and complexity of your property. During this time, the assessor will conduct a thorough building survey, examining everything from your current insulation levels to your existing heating and ventilation systems. This measured approach ensures that every detail is captured to create a bespoke and reliable roadmap for your home’s future improvements.
Does poor insulation always lead to damp and mould growth?
Poor insulation does not always lead to damp and mould, but it significantly increases the risk by creating cold surfaces where moisture can condense. In some cases, you might simply experience higher energy bills or a persistent lack of comfort without immediate visual damage. However, when you are investigating how to check if insulation was installed correctly, it is important to remember that hidden moisture can linger behind the building fabric for months before becoming visible.